Install Moose
In this article, we describe how to install Moose.
Installation
Section titled “Installation”-
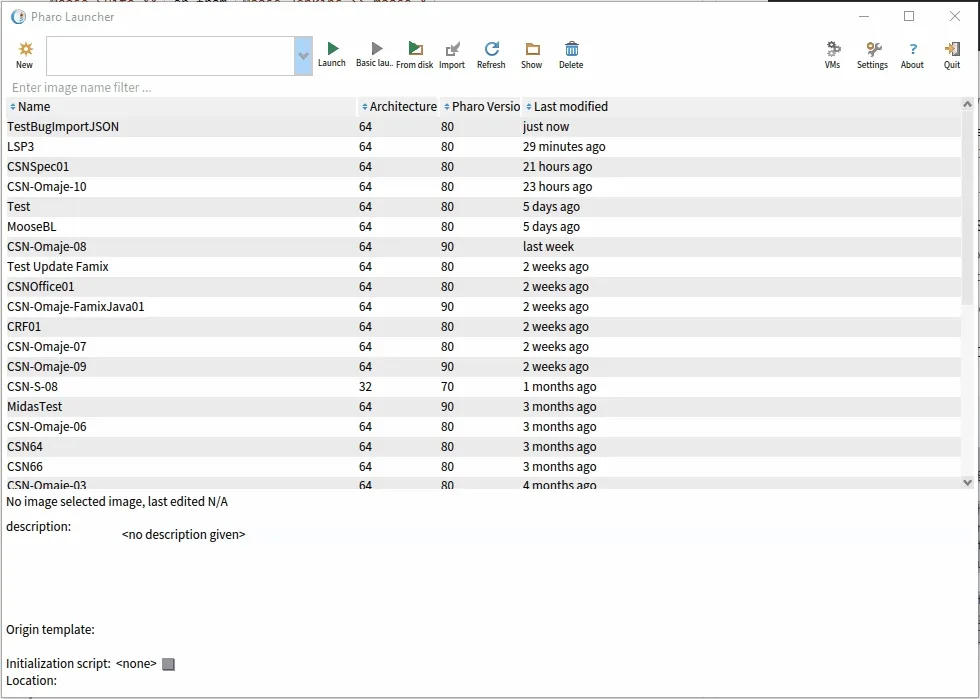
The easiest way to install Moose is to use the Pharo Launcher. You can download it from the Pharo website.
-
From the Pharo Launcher, you can download a Moose image. It corresponds to a Pharo image (see the pharo open documentation) with the Moose tools installed.
The Readme of the Moose project describes how to get the latest Moose image. It is usually safe to take the highest version available even if marked ‘developement’.
-
Once the image downloaded, you just need to run it with from the Pharo Launcher.
Add all GitHub releases in the launcher
Section titled “Add all GitHub releases in the launcher”If you want to access all versions of Moose, instead of the most recent ones, you can use the GitHub releases. To do so, add this project into the pharo launcher:
-
Download the PharoLauncher (see Step 1 of the previous section)
-
Open PharoLauncher
-
Open a playground (Ctrl + O, Ctrl + W)
-
Execute the following piece of code
| sources |sources := {"Add Moose"PhLTemplateSource newtype: #URLGroup;name: 'Moose 12';templates: {PhLTemplateSource newtype: #URL;name: 'Moose12-Pharo12';url: 'https://github.com/moosetechnology/Moose/releases/download/v12.0.0/Moose12-stable-Pharo64-12.zip';yourself.PhLTemplateSource newtype: #URL;name: 'Moose12-Pharo13';url: 'https://github.com/moosetechnology/Moose/releases/download/v12.0.0/Moose12-stable-Pharo64-13.zip';yourself.} }.PhLUserTemplateSources sourcesFile writeStreamDo: [ :s |(STON writer on: s)newLine: String lf;prettyPrint: true;nextPut: sources ] -
Close the playground
-
New >> Moose >> Your version